
Home film scanning and projector set ups have built up a sizeable niche movement over recent years, no doubt fired up by the availability of higher resolution digital cameras and the resurgence in analogue film interest. Youtube and social media are awash with examples of various DIY attempts to capture old film collections, or to scan home developed film. While it’s possible to tape a 35mm slide to a bright window, then take a photo, generally the simplest practical set ups take the form of a tripod/copy stand, back light and camera..sometimes tethered to a computer.
When dealing with motion picture formats and especially smaller gauges, things start to get a little more complicated by a multitude of different factors. Welcome to the dark arts of the telecine. Over the years, along with having film processed and scanned at labs, I’d also on occasion taken to DIYing the odd reel here and there. Filming projections off a piece of card taped to a wall, using condenser lenses and reverse macro set ups fired into a projector lens, either directly, or via a mirror, were all a combination of joy and frustration. All of these took a lot of space, mess and time to set up. It was probably around this time in life that the penny dropped on why good film labs charged so much for these services.
A few years back I began to experiment with various, what I’d call, desktop cinematography techniques. In some of my freelance work as a camera operator and editor, I was sometimes being asked to shoot products, pack shots or elements as an extra on the gig. This would invariably mean shooting from a home set up, or at least remotely from the client or production. As I already had an interest in stop motion and sfx photography, I was aware of the development of Dragonframe stop motion software and eventually thought I’d dive in and see if it could be useful. I’ll write another piece on the specifics of the set ups I have, that are controlled by this software and how they’ve been a great asset for desktop shoots, but for this blog piece I’ll concentrate on how I’ve been using it to create film scan effects and elements for the Scratchtapes collections of film effects templates.
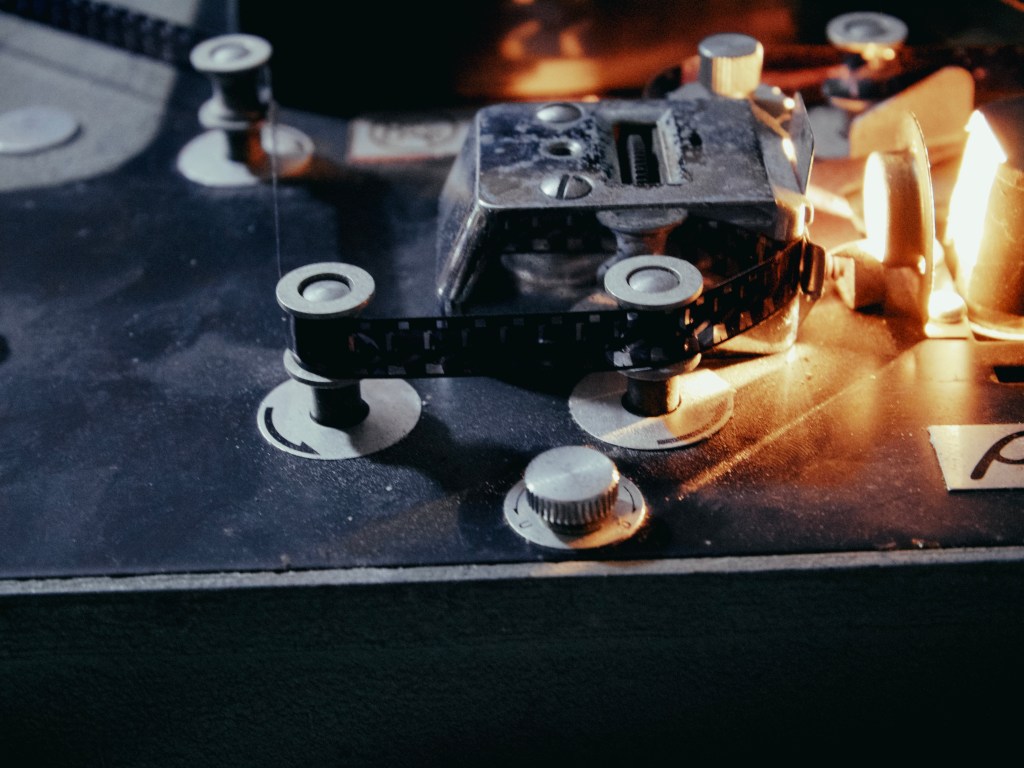
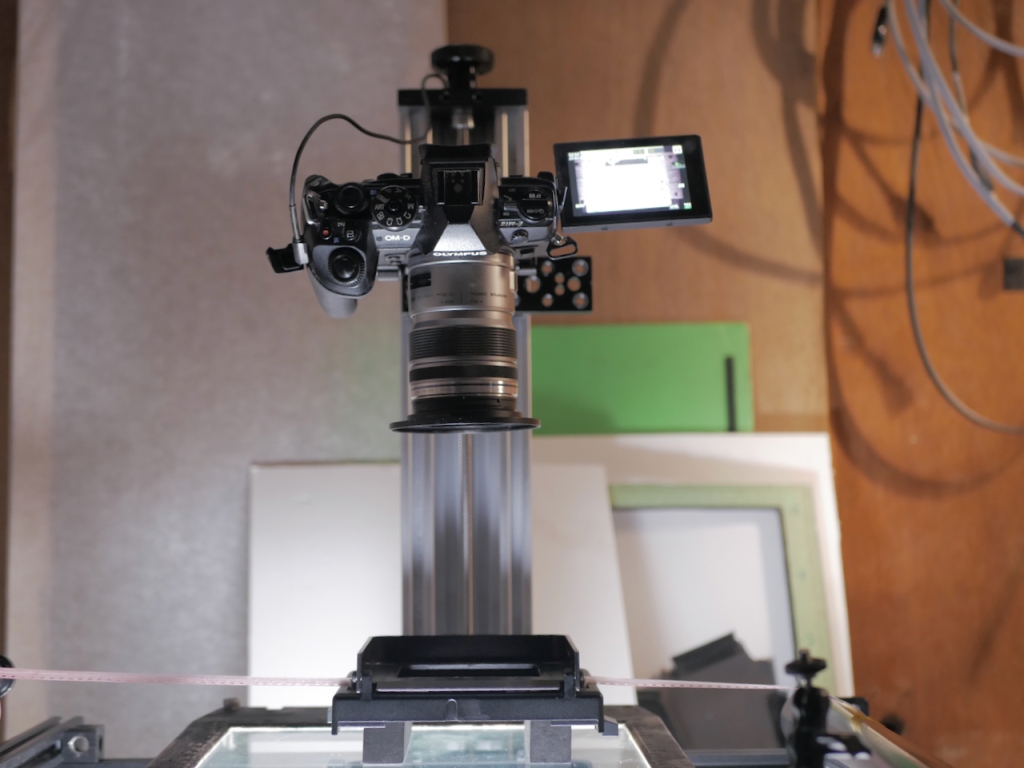
So far I’ve used a combination of hand animated and motion controlled captures to Dragonframe, mainly via a tethered camera system ( Olympus M43 being my preferred system for this ). The small size of the system as a whole, makes it relatively easy to mount. The sensor size as well, makes for a good match to smaller film gauges when working in macro.. the sensors are in between a 16mm and S35 frame size, meaning magnification is within the realms of standard macro lenses and adapters, without going too extreme. Even for Super 8, a good quality macro bellows gets a reasonably sharp image. Most of the hand animation has been done over an animation table ( top image ), with Dragonframe used for exposure, finer composition and capture/playback. Being able to constantly review what’s being captured as you go and how it will look, is a major boost to workflow. While this set up is probably overkill for this technique ( I’ll be writing more on this setup next ) , it works pretty well and I can easily attach rollers etc for transport and alignment. Importantly, it can be packed on the shelf pretty quickly.
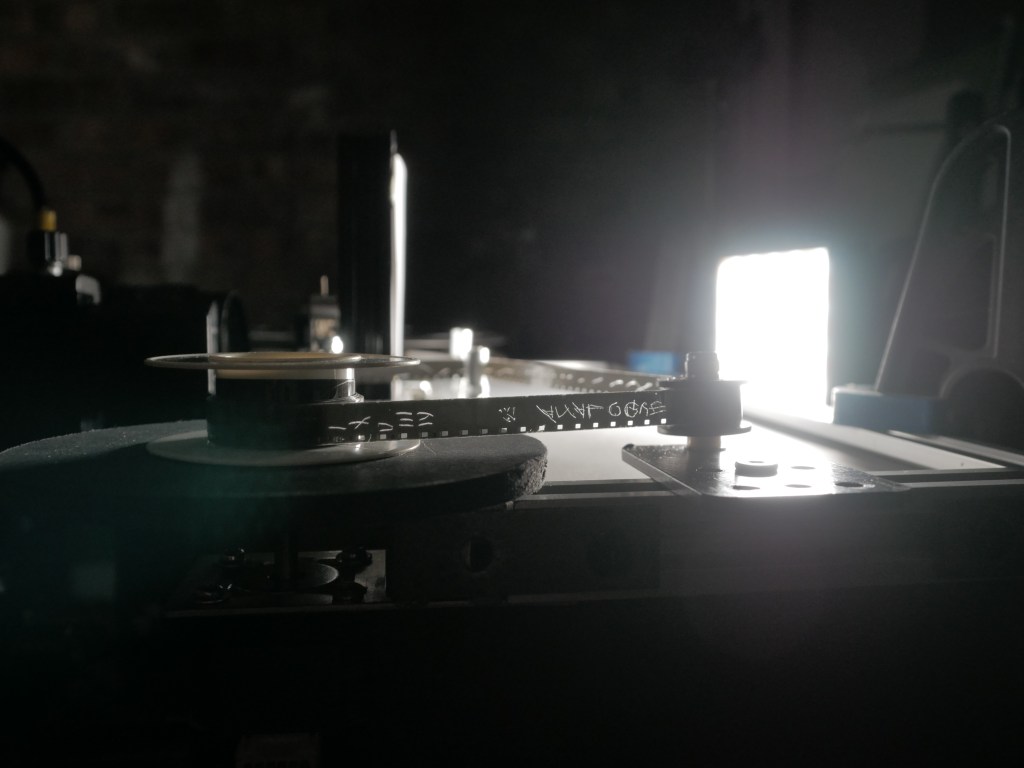
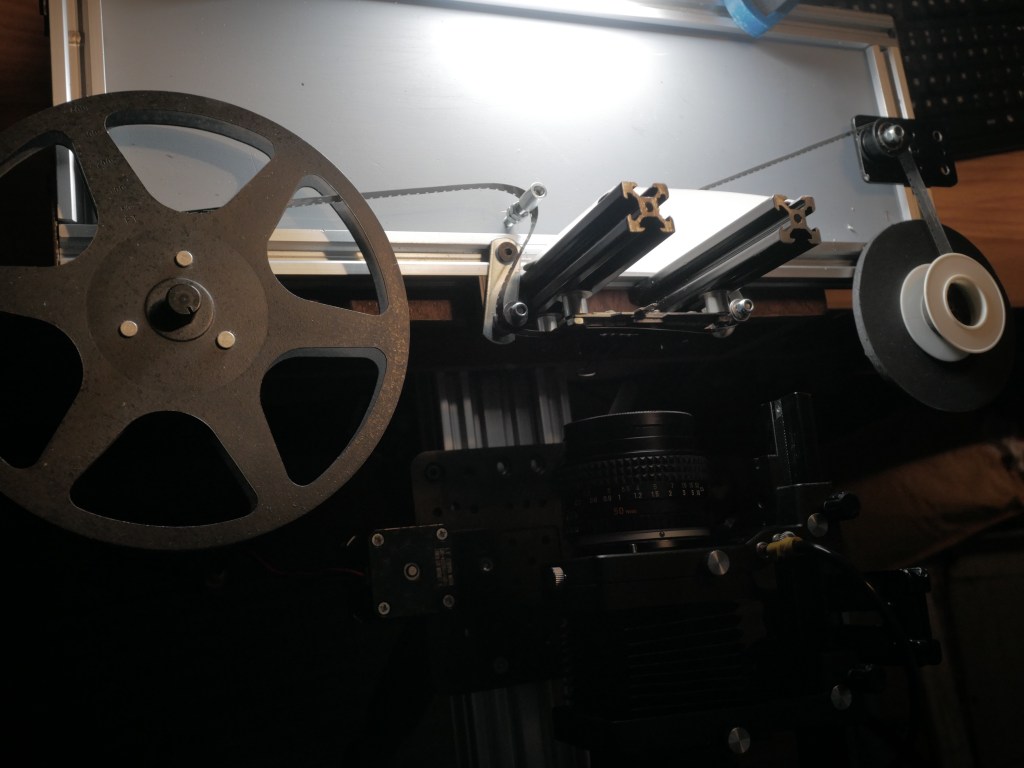
The video above show’s a motion controlled setup for S8/8mm capture I’ve been testing for a couple of years. This has since been revised a couple of times with better rollers, take up spool and a more permanent light source. The film is pulled through the gate by a stepper motor, which is controlled by Dragonframe via an Arduino controller unit. This unit is built to control larger motors for use on turntables and multi axis moco rigs, so is not ideally set for the more delicate movements of a film scanner. It works for these film effects and even allows me to do some weirder stuff, like z axis movements on the film gate if I want. What this can’t do at the moment, is archival capture of films. All the imperfections that I use this for.. gate weave, frame roll, flicker etc are not what you want when transferring valuable old films. I’m cautiously optimistic that this can be modified a bit further, ideally using Dragonframe to capture the frames, while an external unit controls the films path through the gate and could then be used for transfer of films. If you’ve read through this interested in setting up your own film scanner, then I’d advise checking out the many builds on Youtube first, or heading over to the excellent kinograph site, which contains a shed load of advice and technical resources.
Please head over to the Scratchtapes main page if you’d like more info on the film template packs for FCP.

Leave a comment